Installing the master cylinder:
The problems I had were related to the add-ons rather than the master cylinder itself.
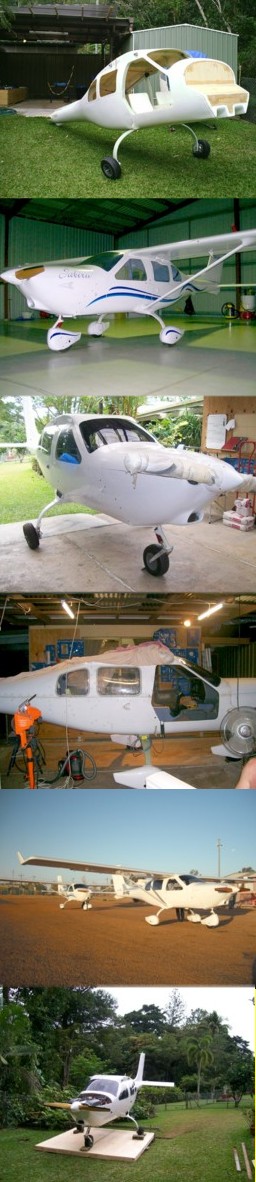
Drilling the hole in the centre console for the push rod to go from the brake handle to the master cylinder was difficult. I found I needed to drill a hole through several layers of glass walls in the console. Then I had to do a lot of reaming out of the holes to allow the rod to line up correctly. This was where my long flexible drill shaft was handy. Also once you get the hole drilled it is hard to physically see down the hole to see where you are inserting the push rod. This is where my homemade LED on a long stiff wire came in handy as it enabled being able to see deep into the console.
I had lots of trouble with the funny inverted Y piece hose connector that screws into the main master cylinder. Mine would not seat in position across the line of the master cylinder. In its tightest position it was on such an angle that I could not join one hose to the Y piece. All attempts to change its position with washers failed. I phoned Jabiru and they don't even do theirs the way the instructions say.
What they do, and I then did, was remove the Y piece, go to a local hydraulics shop (with the Y piece because all the Jabiru stuff is imperial threads and the local hydraulics shop will probably have trouble matching it) and get a single line nipple. (in my case I needed an adapter as well to match threads). Once you have this throw the Y piece away!
Then run a single line down to the outside of the fuselage between the struts. Now add a T piece and run each line down the strut to the lower end of the main gear strut. Then install a second T piece and run a single tube to each brake.
Bleeding the brakes:
Firstly, if you don't have any idea on how brakes and master cylinders work (like I did) then it is well worth learning a simple background. Try this website http://auto.howstuffworks.com/brake.htm
I ended up not using the instructions in the manual. While it is the standard way to bleed to brakes it is very time consuming. Instead go and buy a brake bleeding kit or get a big syringe and tubing that will fit the nipple. Then fill the brakes from the bottom up rather than the top down. This way all the bubbles will be forced up and out and bleeding takes less time. But I have to say I, and a few others I know, have had lots of trouble getting the brakes to stay firm. The consensus seems to be that we haven't bled them enough and despite the backward filling there are still some bubbles in the system. One of the other builders advised us to set up a system where we can force large amounts of brake fluid under pressure backwards up the system.
Part of the problem also is that the system was designed originally for just one set of calipers on each brake. The small compression cylinder had enough volume to service just two cylinders. But they added an extra brake to each side but kept the same single cylinder. So now only half the volume gets pushed to each brake piston. So if the piston sits too far off the brake rotor disc and/or you have even a tiny bubble in the system it just doesn't work well.
Dual Brakes:
The manual had no text instructions about the dual brakes. They used just the instructions for single brake systems and an exploded diagram of a dual brake system. It is relatively straight forward. (This may be better explained in the new manual)
You can buy a proper tool to flatten the rivets that hold the pads on or some people just use a broad punch and anvil. Whatever way you do it you have to make sure the rivets get flattened properly on the brake pad side. The pads wear down so you don't want lumpy edges of rivets scoring gouges in the disc when the pads get thinner.
Adjusting the calipers:
I had no idea about these and the instructions don't say anything. I got advice from an automotive brake mechanic. Basically you have to create a balance between the brakes and the master cylinder. This means adjust the spring loaded bolts to a minimal gap between the disc and the brake pads. Then adjust the push rod spherical bearing at the master cylinder. You need to have a balance between volume of the compression cylinder and range of throw of the handle.
Then you apply the brakes and they should grip quickly giving the handle a solid feel and release fully when released. (This is assuming they are properly bled to remove all air bubbles) Overlengthening the push rod may prevent the piston from releasing fully so don't extend the length too much. When the brake is released you should see brake fluid come back up into the master cylinder reservoir.
Just how much should brakes grip?
The maintenance manual says the brakes should hold against an RPM of 2500. Don't expect them to hold against full RPM (In some ways you don't really want them to because if you land and pull on the brakes a bit heavily you will instantly wear a flat spot on the tire. You want them to let a bit of roll and slow relatively gradually.
Just a further comment about braking. You should develop a practice of not using your brakes unless you have to. The Jabiru doesn't take much distance to land and slow right down without brakes. There are several problems that can occur if you hammer on the brakes.
The most common is overheating. This has had catastrophic results for one Jabiru owner in the USA who landed very long and then hammered on his brakes and melted the pads. The melted pads obviously got rapidly thinner and the pistons pushed out further & further till the "O" rings went clear of the cylinders. At that point the brake fluid all leaked out and the brakes failed completely with an over-run into a ditch resulting.
Though simply doing a missed approach when it was obvious that the landing was too far down the runway would have been a less expensive option. I can't work out how you would need brakes on 1500 metre runway in a Jabiru if the landing was done appropriately. But I guess I was not there so shouldn't comment.
I think Jabiru have increased the length of the piston to prevent this.
But even lesser overheating may warp the rotor disc.
As well as the wear on tires sudden heavy application can tip the nose forward and down and the prop tip may strike the ground.
The master cylinder is the same as used on trailers so if you need a replacement you may be able to get one locally from a trailer shop. I had to get a new cap quite early as the original would not grip on the thread and kept loosening.
Brake hoses:
You will have to insert a T piece in the hose at the bottom of the wheel strut. I made two mistakes here. Firstly I set the T Piece way too high which meant it protruded out of the slot in the spat. It was bad luck that it happened to be just the same level as the top edge of the spat and got in the way. I then had to trim back fairly large grooves for the T Piece and hoses to sit so they didn't rub and get abraded.
Secondly, in doing that the hoses sat fairly vertical and rubbed on the two nut and bolt ends from the top spring loaded bolts. This then needed to be pulled clear with zip ties. In the end I planned to replace the whole lot and set the T Pieces lower inside the body of the spat.
Fitting of Hand Brake Handle
Again this design has now been changed.
I was pretty annoyed that I had to bend the flat plate supplied for the handle. They give you a flat plate and the bend instructions. Why they can't just bend it for you I don't know. I found it quite difficult to bend as I don't really have any specialized tools to bend a small solid piece of plate. In the end it was OK but the bends are not smooth and even.
The instructions call for gluing the plate in place with five minute epoxy as well as the big pop rivets. One thing I found is that five minute epoxy is basically useless. It very quickly lifts off whatever surface it is attached to. See the notes on Epoxying in the general page. Later in the build I had to remove the handle and I noticed the 5 minute epoxy had lifted. The pop rivets were still holding the handle cover plate in place even though the glue wasn't. At present I have left it but am keeping an eye on it in case I have to drill the rivets out and re-epoxy it. I would suggest doing it with proper epoxy and flock rather then 5 minute and flock.