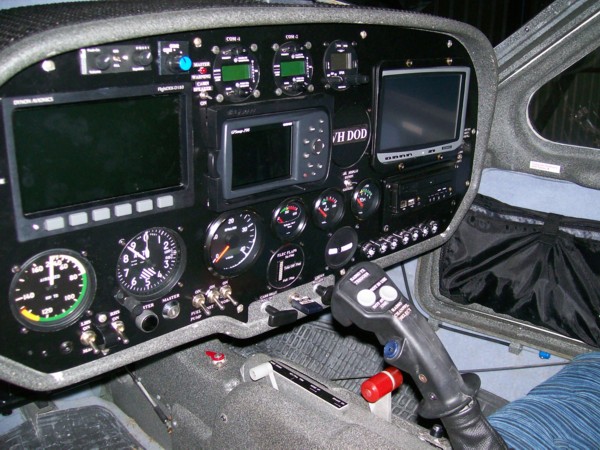
Avionics :
Dynon EFIS & EMS ( Dynon Flight Dek D180)
Second Radio
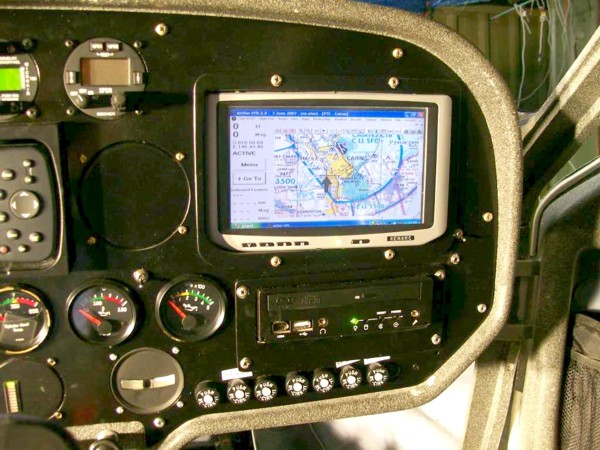
Panel mount my Garmis 296 GPS
Other Instruments:
12v Mobile computer with touch screen (capable of running AirNav VFR moving map)
Allow room for eventually installing an Autopilot
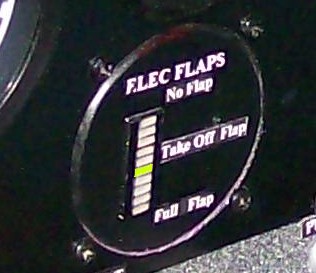
LED Flap Position Indicator
Structural Changes:
Pistol Grip JoyStick
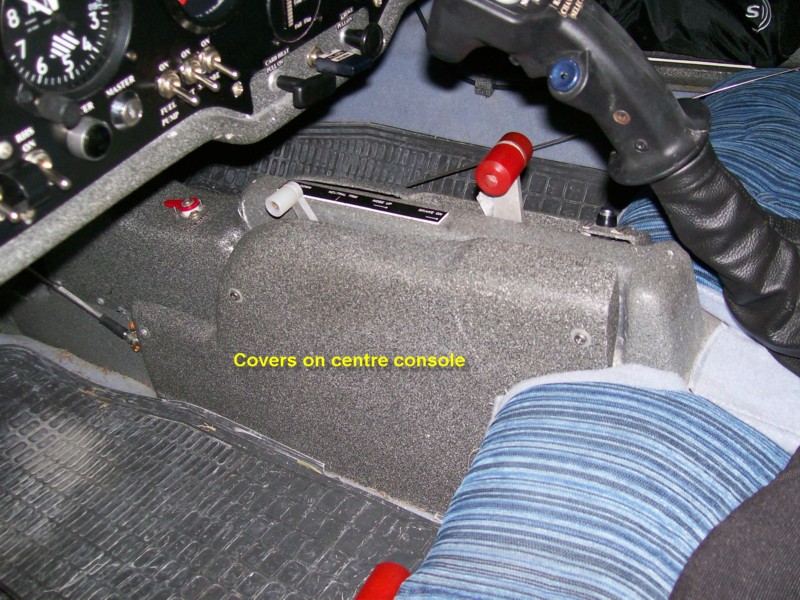
Panel covers for various sections of internal structures
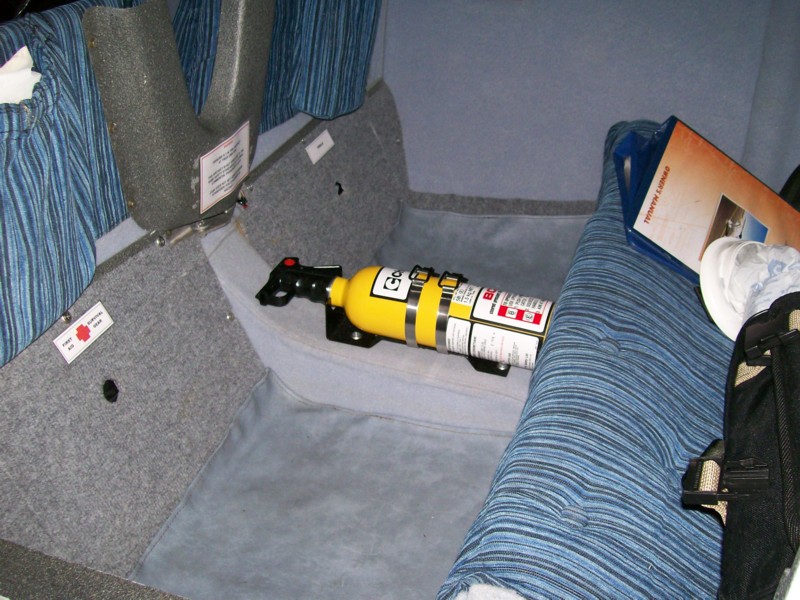
Small lockers for the stowage space under the rear of the front seats
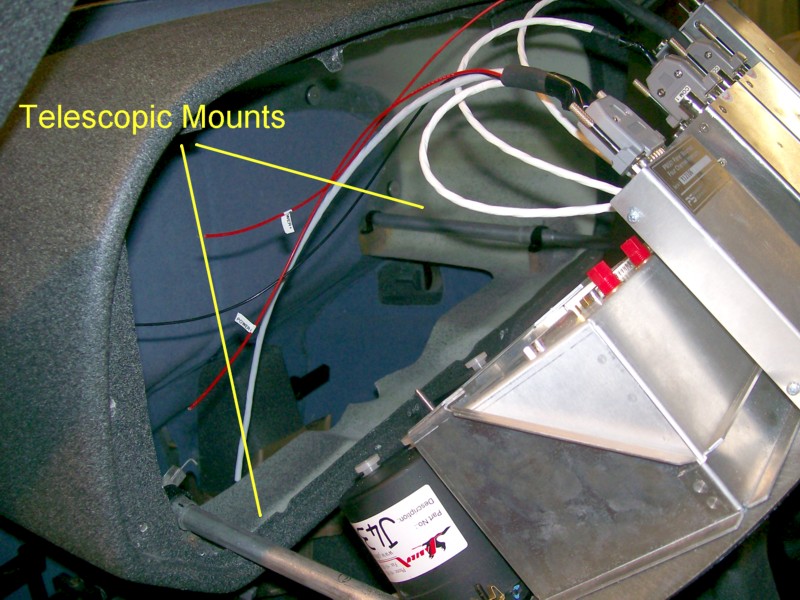
Telescopic Mount for dash panel (for easier access to instruments)
Switchable Alternate Static Source
In Dash mount for Garmin 296 Map GPS
12v socket for running stand by GPS, other equipment.
Door Pockets - automotive type ones.
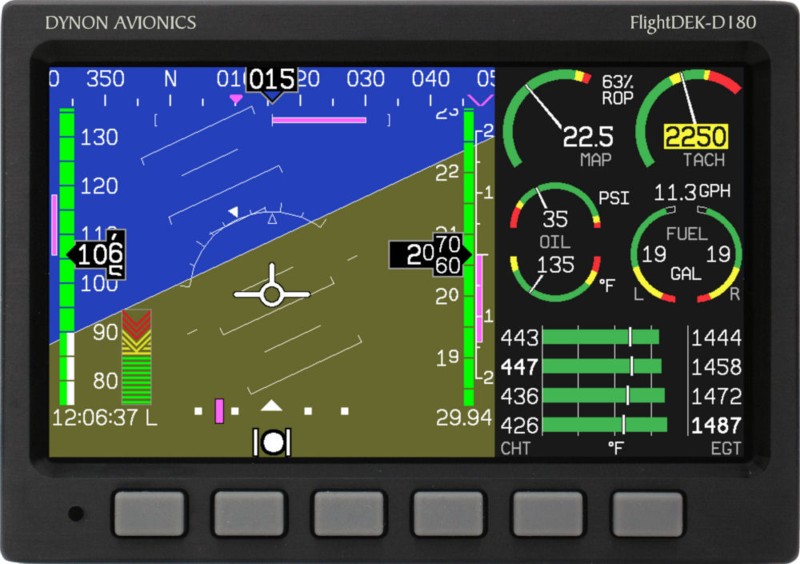
The Dynon is now a fairly standard option with Jabiru.
It is a multifuction glass cockpit containing EFIS (Electronic Flight Instrument System), EMS (Electronic Engine Managment System), does flight data recording and fuel managment. Dynon have now also brought
out an autopilot which runs off the main instrument or can be run via a separate panel. The autopilot has been installed (see the post build modifications section.) For more information click on here Dynon' Website.
LED Flap position Indicator - This indicator is a bar of LED and shows a moving light denoting the position of the flap. Other option is to turn your head and see where the flap is. When I get time I will post the diagram of the sensor and circuit diagram.
Com 2 - Second Micro Air VHF radio
I had done a number of trips (and planned more) where having two radios was very much easier than trying to make do with the one that comes supplied. Since building I use the second radio almost every flight so has been well worth getting.
Mobile Computer including AirNav VFR / GPS Moving Map / USB Internet modem
Telescopic mounts for dash panel -
This probably the single most useful addition in the whole aircraft.
It consists of two sets of telescoping aluminium tubes fitted into the dash and attached to the bottom lower corners of the panel. With the large number of times you will need access to behind the panel this addition is well recommended. The panel screws are undone and the whole panel slides out then tilts to allow access to the wiring, instruments and behind dash area. Gone are the days of laying upside down under the dash with head jammed against the floor and the feet hanging over the back of the seats!