This was my introduction to Jabiru constantly updating their model but not updating the manual.
The wheels, the brakes and the bracket for attaching the spats were completely different to the ones in the manual. This caused me prolonged time and frustration sorting out what was what.
Wheel hubs - The newer version are fairly easy to work out. But I found the bolts were too short. I then had to down tools in a frustrating wait till I could order new longer ones. Once the bolts were sorted the hubs went together without too much trouble.
The Brakes.
The old instructions show only the old single brake system whereas the new kits all have the twin caliper disc brakes. It's not too hard to work out. The main difference arising from this is that the brake line coming down from the fuselage has to be divided by a T-Piece. The location of this T Piece can prove a later problem if it is too high. The T Piece itself and the hoses may get in the way of the spatt. So I would recommend install the wheel, install the spatt even if just in a temporary manner and work out where to position the T Piece without getting in the way. (Mine was too high and I had to cut all sorts of slots for the T Piece and hoses.)
(The whole thing has been since redesigned again and may not be an issue.)
The Brake Disc.
The instructions show a circular disc with four straight struts with holes for bolting on. You will not find these in your blister pack of parts. They have changed them to things that look like stylized flowers with curved struts. (I spent hours looking for the circular ones and phoned Jabiru and got no where. They thought I was missing them and said they would send me some. I saw someone else's on the internet and the penny dropped that we were all looking for circles when what we needed to look for was flowers!
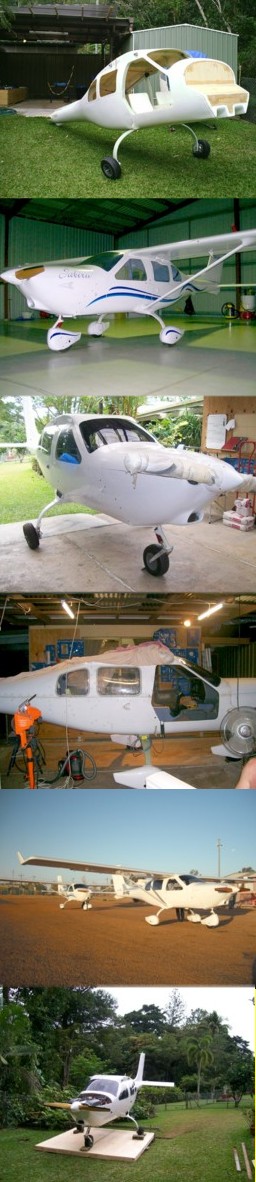
Spats
The outer main spats now come as as a different design so there is less work to do now.
The inside smaller section of spats is now also completely different. The first thing to consider is that the brake line tubing and T - piece at the bottom of the strut need to fit inside the spat.
Install the spat and mark where the spat sits and then install the brake lines to fit.
The spats serve as an introduction to another phenomenon which applies to most of the fibreglass components. If you have to get fibreglass components to fit together, especially when they are difficult to align, it is vitally important that you don't do any work or hole-drilling unless EVERY screw, bolt or whatever is installed and done up tight. I had a few times (and the spats were just one example) where I just held things in place by hand or just used one or two of the screws and then drilled holes. Then later I found that when ALL the screws were installed that the new holes didn't line up. Fibreglass components seem to have the impossible capacity to change shape when less than the full complement of securing devices are used. What seems like saving time ends up causing a disaster.
Next the mounting bracket is now different to the instructions. There are a couple of oblong plates of flat aluminium with four holes (one a crescent). I had to work this out myself so I could have this wrong but what I did is use screws and retained nuts and affix the plates to the inside of the spat. Then install the spat using the screws that fit the retained nuts.
I found that just a few landings on a grass strip loosened the screws so once I was happy with the position I had to use loctite on the screws to stop them loosening.
You have to ensure the spats stay tight on the screws. I had the drama of landing in a strong cross wind, with a bit of drift. This caused the tire to deform a bit and it caught on the lower lip of the spat on one main wheel. This rolled the spat and ripped the screws on the back out. This necessitated a re-epoxy job on the spat. I ended up installing washers that I ground to fit the crescent shaped hole in the spat so the spat would hold firm and not move under the screws.
Later Addition:
I found that even this did not give solid fixation. A few landings on rough strips and the spatts would loosen. I have now filled in the crescent shaped hole, after marking where the screw should be, with epoxy and flock. Then I drilled out a hole just the right size for the screw. I refilled the other hole as well and drilled out a hole just big enough for the screw. I also used Locktite on both screws and it seems to have worked.
To give adequate clearance from the tire I had to add some washers and spacers under the spat. This caused some torsion on the spat.
Overall the advice that has to be heeded is: The fibreglass components and every screw or nut and bolt HAS to be absolutely secure.The Spat has to be solid and immobile. Any looseness will be increased by the vibration of ground run and will rapidly lead to destruction of the spat.