I purchased the Jabiru pre-cut carpeting with the overlocked option. I got the standard base colour which was "New Moon" which is a pale blue grey.
I did not get the seat covers, because of a misunderstanding.
Overall I was pretty unhappy with the upholstery as supplied. It was pretty expensive about AUS$2000 of which a few hundred was for the overlocking of the edges.
The colour was not quite as I had envisaged, due to the age old problem of different computer colours being slightly different. On my home computer the colour seemed to be a darker grey. When it arrived it was very pale and is already showing lots of dirt, sweat and dust marks. I contemplated buying a complete new set in a darker colour but cost prohibited it.
Secondly a significant cost was paid to get the overlocked carpeting but I had to trim off some of the overlocked edges because many of the pieces were too big. It's a bit annoying to pay for something that you then cut off and discard. I laid a complete layer of sound deadening foam on the whole inside fuselage which even increased the area the carpet had to cover and many of the pieces were still too large.
Thirdly there were a number of pieces which I thought I was getting but didn't. When they weren't present in my kit I phoned up about them to be told that the bits I wanted were optional extras at a cost of $260 each. These bits were a fitted section for the front of the centre console and a fitted section that surrounded the panel. I had seen a couple of other Jabirus with these sections and had assumed they were part of the standard set. So when I ordered the kit I was expecting them. When I was told I had to pay extra I decided on principle not pay any more especially in the light of the overlocking fiasco. On speaking later to their owners they had NOT ordered them as extras and had definitely not paid for them. So I don't know how they managed to get them.
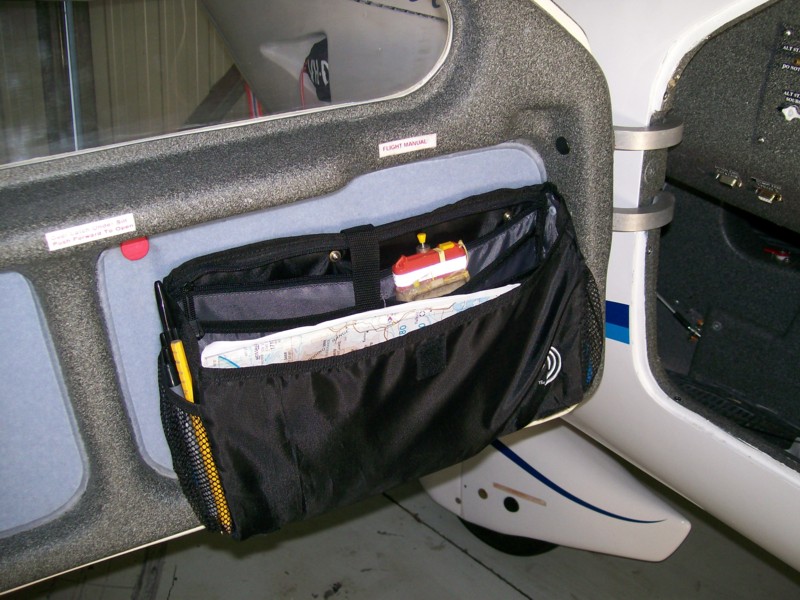
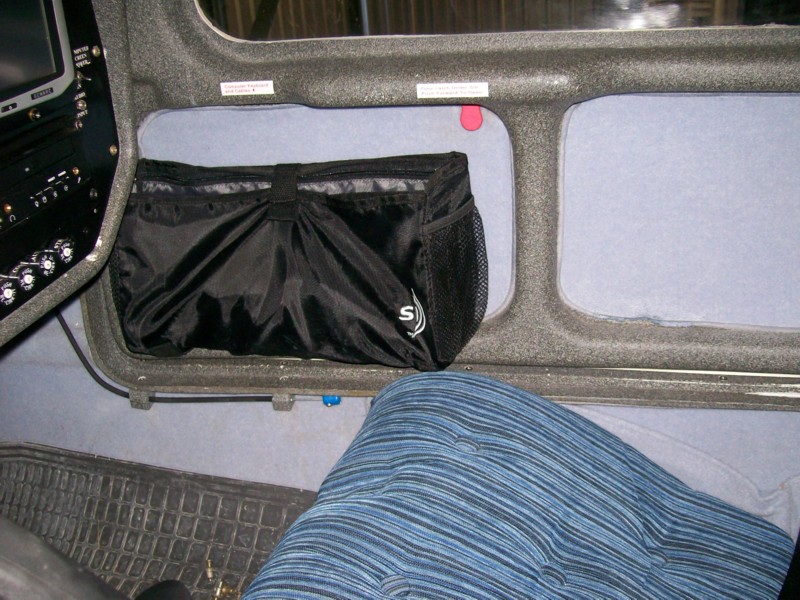
Jabiru Optional Door Pockets:
These are just single vinyl pockets that are clipped into the door recesses. They are pretty plain and not any sort of ergonomically or clever space conserving designs. I found some very nice multipocketed ones at my local automotive store for less than half the price. So I went with them.
The Seat Covers:
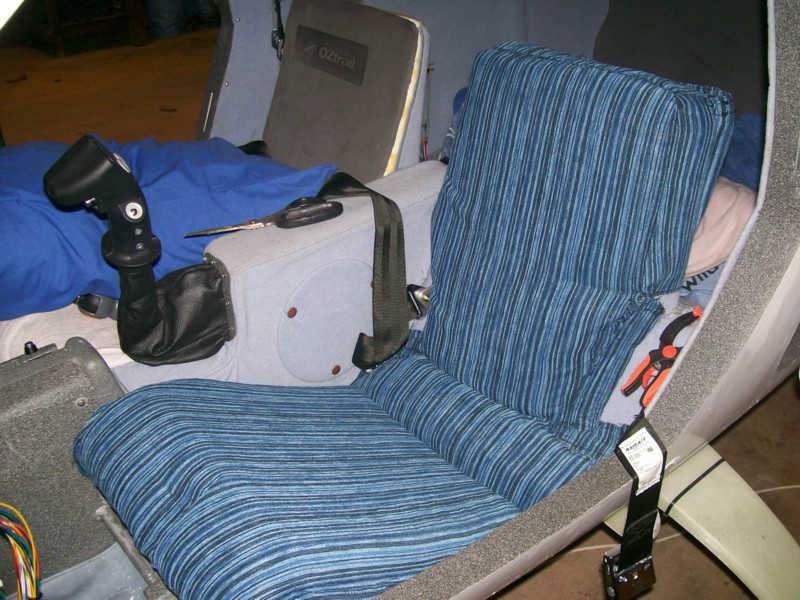
The Jabiru kit comes with hard fibreglass seats. There is no further covering or foam as part of the standard kit. They refer to all the foam rubber cushioning and fabric cover on the foam rubber as "Seat Covers" . I elected to not order the seat covers because I thought I was getting the foam rubber with perhaps some plain fabric surfacing as standard. In the end I got nothing and had to buy it locally.
I then purchased foam rubber and fabric and made my own. In terms of cost I spent about $140 on foam and $50 on fabric. Plus significant time on making a prototype front seat cushion and cover. Then pulled it apart and made a second better one, then having it about right go on to make the other front one and the rear seat.
I purchased fairly thick cushion grade foam (about 3 inch thick). The thickness of the foam when supplied by Jabiru is quite thin, though still fairly comfortable. The thicker foam suited me (I am not very tall and my wife who is also fairly short.) A couple of my friends who are much taller have sat in my cockpit and they find it a significant squeeze. So if you buy your own foam think carefully about the thickness.
In all it took a long time and some considerable cost to do it myself. Bear all that in mind if you choose not to buy their "seat covers".
The Jabiru Seat Covers:
These are made from thin layers of fairly high density foam. The covers are reasonably well made and sewn and look OK. The other Jabiru in town has factory ones and they are reasonably good looking. They are not as flash as fully upholstered leather seats I have seen on others websites but are still OK. The fabric is sturdy and comfortable.
Late addition:
Jabiru now also sell very professional looking leather seats. They would probably be a better buy in the longer term.
The Upholstery Carpet
The actual carpet sections and where they should go is a problem. The parts come with about three quarters being numbered and a lot of small pieces not numbered. The instructions are very broad, such as "piece X goes on the ceiling" with no further help as to where on the ceiling. Some are easy to work out; some are impossible. I ended up with a number of left over bits, mostly long thin bits for which I had no idea where they went. Some of the bits could have gone anywhere. Many did not fit properly. The instructions bear the final words "Good Luck!" That should ring alarm bells in a set of instructions.
Would I buy the upholstery again?
Well, probably yes. If you have access to an overlocker you might save some cost by doing the overlocking yourself. I probably would buy the seat covers. I would not to buy the door pockets. I would recommend darker carpet than the standard stuff.
Installation of carpeting.
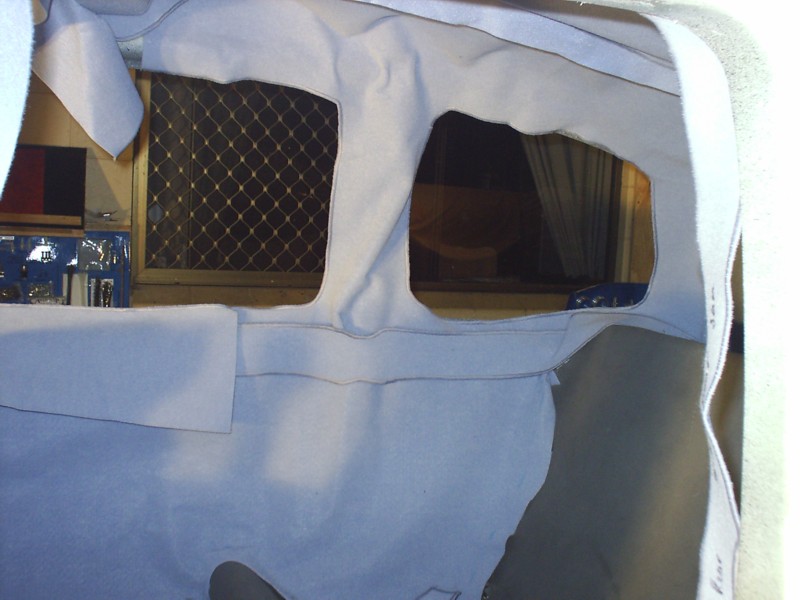
I went and bought a roll of adhesive backed Velcro. I then cut the hook strip into small squares and stuck them all over the inside fuselage. That way I could move bits of carpet around till I worked out exactly where they went. Once I worked it out I wrote on the back of the sections where they went (some with a little diagram. )
Then I pulled them all off and glued the sound-deadening on. Then laid the carpeting.
Some hints.
Sound deadening.
I wanted two things. Something to deaden sound and something to soften a lot of the pretty harsh and hard ridges and surfaces that Jabiru's have. The big thing you have to watch is weight. Normal auto sound-deadening or household carpet underlay is too heavy. I used closed cell foam that you buy for camp sleeping mats. The sort of stuff that rolls up and hiker's use. I used 3 single mats which were 10 mm thick and each weighed under 300 grams.
The carpeting is a bit like paint work. The under-surface has to look pretty good before you lay the carpet on. It doesn't hide much. I had some gaps and overlaps in the sound-deadening which I thought would fill in with carpet. Not so. The carpet is very thin and a lot of the under-imperfections were obvious.
There were a couple of places I had trouble with. The corners of the rear right window gave me lots of trouble. I ended up with a mass of crinkles which I never could get out. In the end I hid them by installing one of the placards over the wrinkles!
In the video I got from Teckair (try www.teckair.com.au if you are interested) the guy building a J160 build little plates which when he screwed them down pulled the carpet tight. I perhaps should have tried that.
Glues:
I used contact cement and spray adhesive. Those contact cements which are yellow colour are good but have a couple of problems.
Firstly getting carpet to stick required a fair amount of glue applied to the back of the carpet. It is easy to get glue seeping through the carpet. Being yellow it is quite obvious on the surface.
Also this type of glue forms strings easily and gets on hands and tools and the front surface of the carpet.
The benefit is that it sticks very well. But bear in mind that once it dries it is very hard to pull the carpet off if you find you need to. Mineral Turpentine will soften dried glue so it is able to be removed if just on the surface. Glue which has seeped through does not clean off well.
I used a couple of brands of clear spray adhesive. 3M Upholstery adhesive mostly and it was not very good at all. Overspray is a real problem. It seems to get in everything and on all adjacent surfaces. You have to go to a lot of trouble to cover everything. Secondly it is no where near as strong when cured. It is clear so I used it in the front of the cabin to avoid the yellow stains. Trouble is lots of the sections lifted when stressed. I had to go back and reglue them with yellow Bear glue.
The clear 3M glue can be cleaned up with acetone.